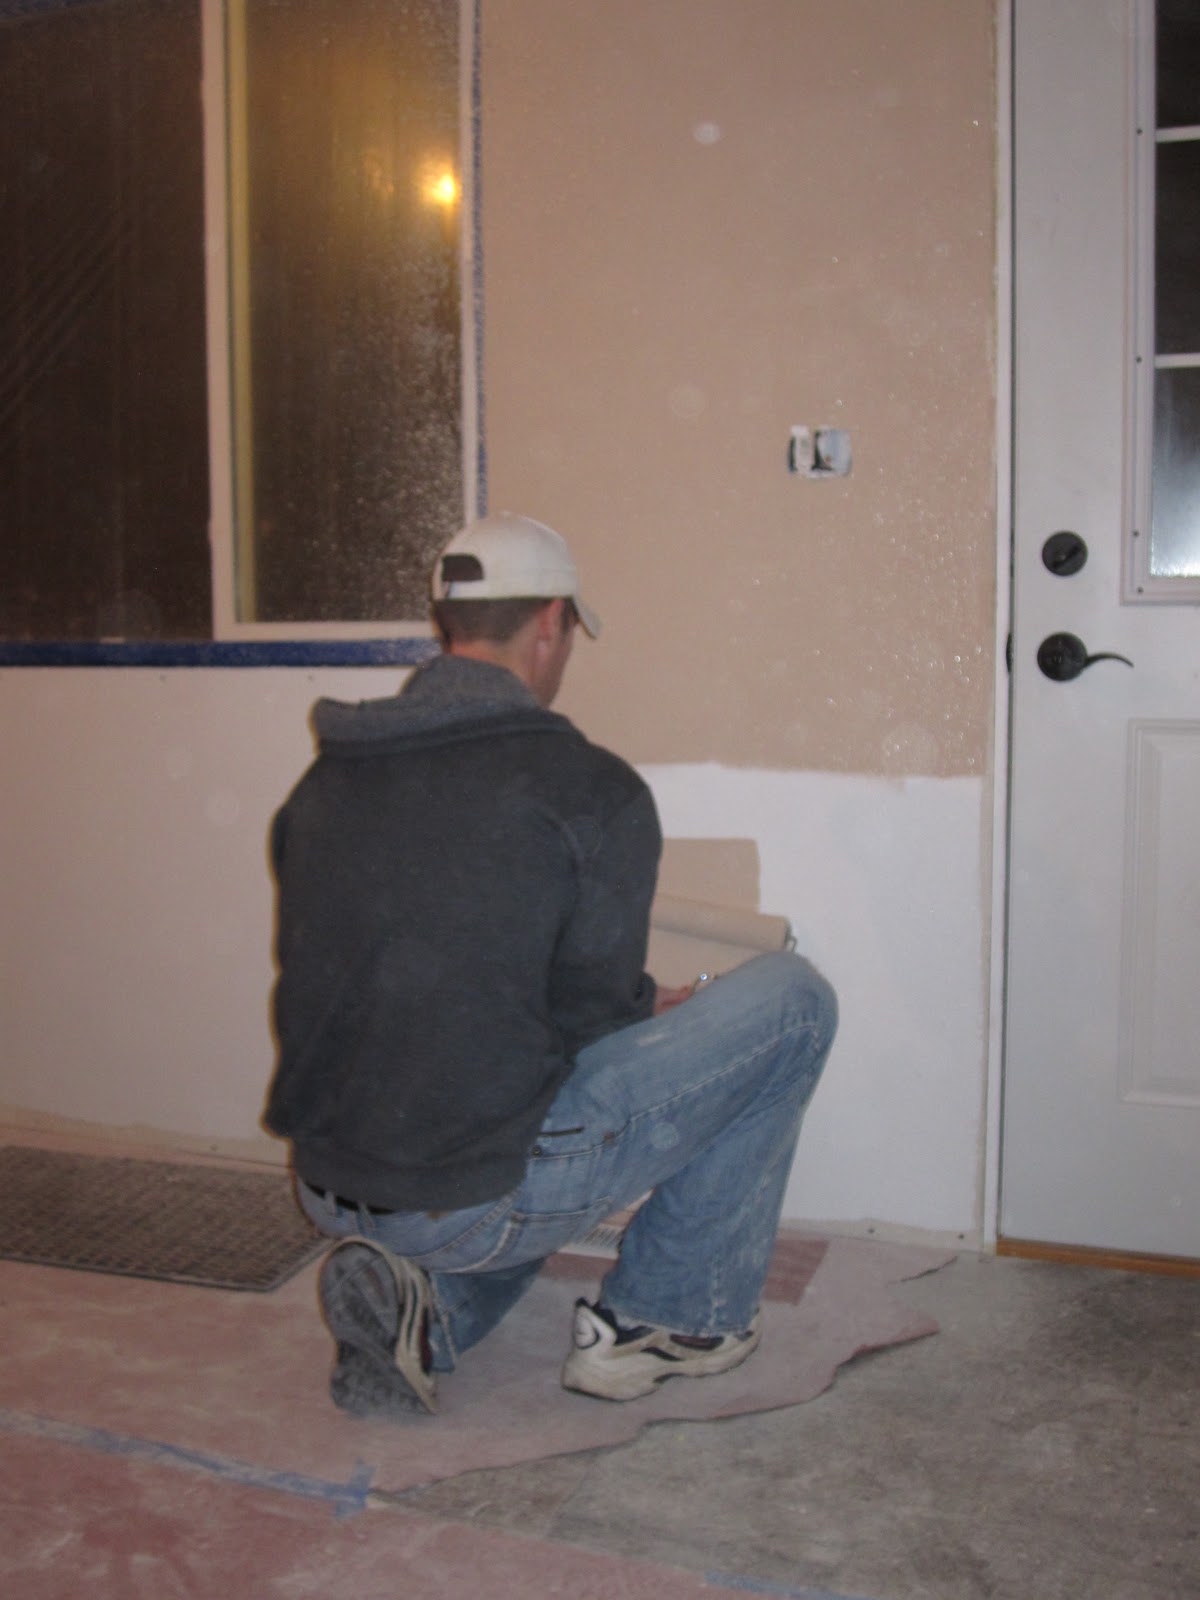
The kitchen is coming along! Last night, Chad and I put the second coat of paint on the walls, and it looks splendid! We love the color of green in there...it is softer in the daylight and a little deeper at night. It will look great with the floor, cabinets, counter top, and black appliances. By the end of the weekend - all of that should be done!
Today, Dad, Cory, and Kyle put down the underlayment on the kitchen floor. Just having that clean, uniform look on the floor already looks so much better! On Friday morning, Thornton Flooring will be installing the vinyl. It is a tile look and will add to the kitchen so much. We had originally thought about going with a DuraCeramic tile in the kitchen, but due to cost and the purpose of this house, we opted to go with a higher grade vinyl flooring instead. It has the look and feel of tile but is a much better friend to our budget! :)
Take a look at the final product for the kitchen walls and the beautiful new underlayment:
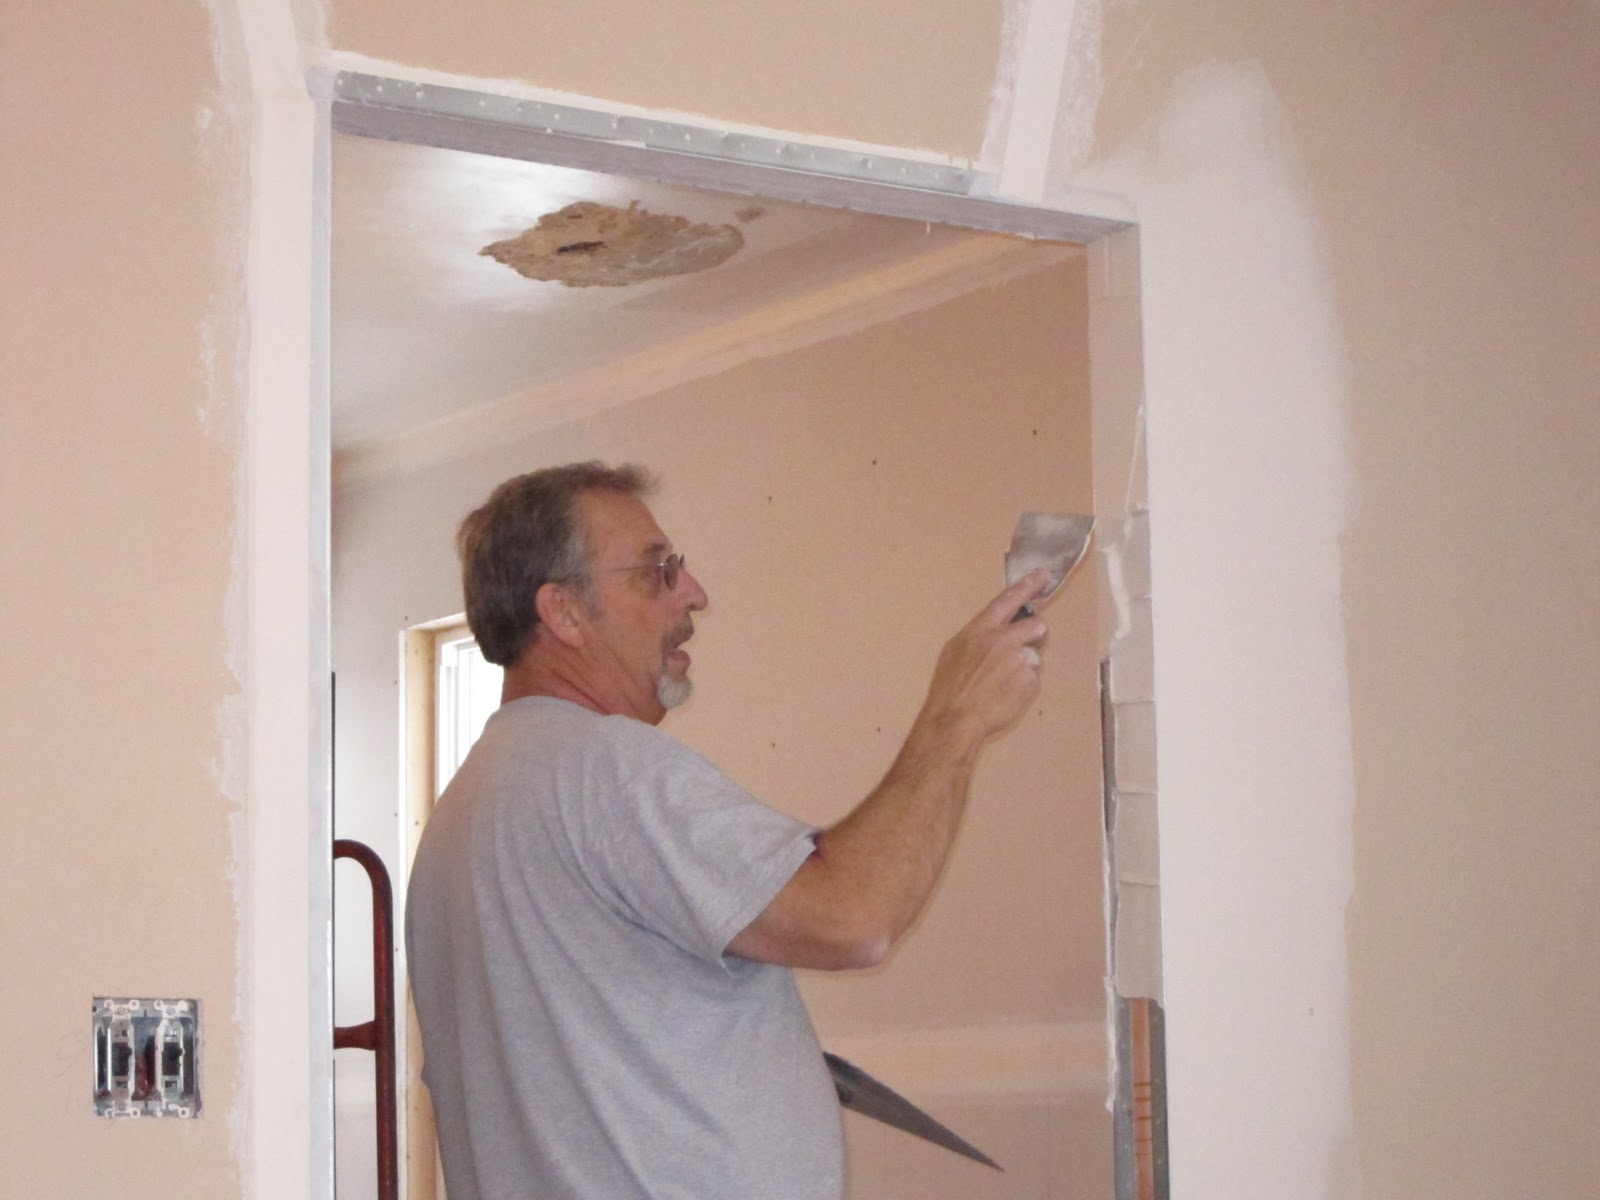
Dad and Cory also did some more work in the bathroom. Cory had started demo in there last week by removing the old vanity and sink and tearing up the old floor. Today, Cory removed the toilet so he could pull up the rest of the old floor, and they also removed the mirror/medicine cabinet from the wall. Dad did another coat of mud and will be ready to sand when that is dry. They also decided to remove a piece of wall extension that overlapped the bathtub. We believe this piece was put in to accomodate the vanity, as it overlapped the tub. However, it just made that extension of the wall look really unneccessary when the vanity was removed. Since we will be moving the vanity to the other wall, the guys decided that this extension was no longer necessary. They got it cut back and boy does it look nice! A very small little thing made the bathtub look much bigger as well as improving the whole look of the bathroom. Great idea, guys!
The end of the week will bring about big changes to the flip house. Stay tuned for updates showing the flooring installation in the kitchen on Friday and the cabinets and appliances on Saturday. It should be a lot of fun and a great feeling to see these things taking shape!
Wednesday, January 12, 2011
Saturday, January 8, 2011
We Have Color!
Last night, after Chad and I had dinner out with Cory and Steph, the four of us headed to the flip house to do an evening of painting. We didn't get started until 9pm, and we didn't leave the house until about 1am. Yeah...we are crazy. But we got a lot of work completed!
Chad and Steph finished the priming that needed to be done in the living room. We had a few stains on the living room wall and on the kitchen ceiling that were not surrendering to the primer, so we needed to cover them with a special shellac instead. Cory took care of this task, and wouldn't you know it...no more stains!
Once we finished up the priming in the living room and kitchen ceiling, we decided to put the first coat of color on all the walls. This is the most fun part, because here is where the transformation happens. Hang on to your seats everyone!
We decided to go with a green color called Grassland in the kitchen. We love it!
After the first coat of paint in the kitchen was on the walls, it was time to clean out brushes and rollers and start anew in the living room! This is Cory's creative way of positioning himself in the bathtub to clean brushes...hmm...
For the living room, we chose a color called Bona Fide Beige, which after putting on the walls, I wish I would've picked the color one step lighter on the swatch. We intend to have dark stained oak floors throughout the living room and bedrooms, so I was hoping for a lighter paint color that would really show off the floors. However, it's hard to tell from just a little paint sample what an entire wall is going to look like in that color, so we will just make do with what it is. The color itself is still a pretty color, just a tad darker than the image I was going for. Check it out!
There you have it! The first coat of color in the house. It will be really exciting to see how it all comes together with trim and floors. We are hoping that by the end of next week, we will have the flooring installed in the kitchen and then we can put in the cabinets and appliances. It will be very cool when that all comes together!
I'd like to take a second to let everyone know that while we are all at the flip house working, fun is never far behind. I decided to sneak down the basement and scare Cory who was using the bathroom. He must've heard me coming, because this is the image I was greeted with upon my arrival...
Another thing that tends to liven up the work is music. We always have an iPod or stereo going, and some of those tunes can really get us dancing...especially Cory...
As you can see, the house is a large project requiring a lot of work, but we sure have a good time doing it. Truly, this is the way to flip a house...:)
Great job painting everyone!
Chad and Steph finished the priming that needed to be done in the living room. We had a few stains on the living room wall and on the kitchen ceiling that were not surrendering to the primer, so we needed to cover them with a special shellac instead. Cory took care of this task, and wouldn't you know it...no more stains!
Once we finished up the priming in the living room and kitchen ceiling, we decided to put the first coat of color on all the walls. This is the most fun part, because here is where the transformation happens. Hang on to your seats everyone!
We decided to go with a green color called Grassland in the kitchen. We love it!
After the first coat of paint in the kitchen was on the walls, it was time to clean out brushes and rollers and start anew in the living room! This is Cory's creative way of positioning himself in the bathtub to clean brushes...hmm...
For the living room, we chose a color called Bona Fide Beige, which after putting on the walls, I wish I would've picked the color one step lighter on the swatch. We intend to have dark stained oak floors throughout the living room and bedrooms, so I was hoping for a lighter paint color that would really show off the floors. However, it's hard to tell from just a little paint sample what an entire wall is going to look like in that color, so we will just make do with what it is. The color itself is still a pretty color, just a tad darker than the image I was going for. Check it out!
There you have it! The first coat of color in the house. It will be really exciting to see how it all comes together with trim and floors. We are hoping that by the end of next week, we will have the flooring installed in the kitchen and then we can put in the cabinets and appliances. It will be very cool when that all comes together!
I'd like to take a second to let everyone know that while we are all at the flip house working, fun is never far behind. I decided to sneak down the basement and scare Cory who was using the bathroom. He must've heard me coming, because this is the image I was greeted with upon my arrival...
Another thing that tends to liven up the work is music. We always have an iPod or stereo going, and some of those tunes can really get us dancing...especially Cory...
As you can see, the house is a large project requiring a lot of work, but we sure have a good time doing it. Truly, this is the way to flip a house...:)
Great job painting everyone!
Thursday, January 6, 2011
Bathroom Bump-out and Other Anecdotes
Happy New Year everyone! We had thought by this time, we would have the flip house done and sold, but we are finding and more importantly, learning, just how long different things take. So here we still are, and that means you get to read more musings from me...:)
To get caught up, I want to start out with the bathroom bump-out! The original space of the bathroom was very small. It consisted of a full size tub, small closet, vanity, and toilet. To sit down on the toilet and "go" put you in a bit of a bind. There was not much elbow or leg room by any means. With the height of the guys in our family, that was not going to do for us, so we weren't going to make someone else do with it either. We decided to make the bathroom bigger! We had plenty of room in the living room with which to work, and so we opted to add 16" more to the north wall of the bathroom by cutting back a little space in the living room. You don't even notice the missing space in the living room, but you sure notice the extra space in the bathroom. Take a look!
Where we started...the "old" bathroom...
Just me being silly...:)
The finished bump-out! You can see the extra room adds a lot of space to the room! We are also going to move the sink and vanity to the north wall instead of right next to the toilet, so that when you are sitting on the toilet, you have more elbow room. I do believe it will be very nice!
We also widened the bathroom door, as it was pretty narrow. If Chad stood in the doorway, both of his shoulders would touch each side of the doorway. We added 4" to the width of that, and it makes a big difference as well.
One of the tasks we had decided to go for was adding more insulation to the outside walls of the house. We also blew in 10" of extra insulation in the attic, but we wanted to make the cold north walls more sound and chill proof as well. After we built out the studs on those walls from 3" to 4", we added strips of insulation to the walls of the kitchen and living room. We can tell it makes a big difference keeping the house warm...and I am sure the extra insulation in the attic is helping greatly too!
Getting started on the insulation in the living room...
Once the insulation was in place, we could begin sheetrocking. Woohoo!! Our walls are beginning to take shape! Now we are getting to the point where we are doing some of the fun cosmetic things. Dad, Cory, and Chad did all the sheetrocking and what an amazing difference it makes in the house! Things are starting to feel "buttoned up"...although we are far from closing the door on a finished project. It is just really fun to see more progress!
After the sheetrock was installed, Dad could come along with his tape and mud and start tying everything together. What an artform it is to cover the seams and cracks and fill holes and dents, and to do it well! Dad does such a great job with this. We will often exclaim, "Hey! Remember when that hole was there?? You can't even tell anymore!" The whole mudding process is pretty time consuming. Dad has to tape and mud once and let that layer dry. Then he needs to come in again and mud over the same places and let that layer dry. Once that's all dry, and any other spots that might have needed more mud are taken care of and dried, he can begin sanding. Now that is a dusty job. He has a good system going where he can utilize a Shop Vac to suck up the dust as he is sanding. That helps take care of a lot of it, but it's still a dirty job! Then, he gets to texture. This is a neat process as well. The mud mixes with water and Dad sprays it on the walls, making a great looking pattern that gives the walls some character and distinction! We do the entire texture on the walls and ceilings so it all looks uniform. This is an orange peel texture...not the old popcorn stuff that everyone hates because it crumbles off. The texture on the walls makes for an incredibly humid house while it dries, but the effect is so worth it in the end.
Ready for texture!
Texturized!
Tonight, Chad and I began the fun process of painting! And yes, I mean fun. Sure it can be a lot of work, but it is so fun seeing a transformation with color. And I'll be honest...this is the easiest painting job I have ever had. There is no trim work whatsoever to go around, and that makes it super easy! We started priming tonight with our Zinsser 1-2-3 primer which is what we love the best. We do have some spots where we are going to have to prime with a shellac instead of the water-based primer, as there is some type of stain that is being very stubborn and still popping through. No biggie though - we will get it covered! We went through two gallons of primer and ran out. We got the entire kitchen (walls and ceiling) primed and half the walls of the living room. Tomororw night we are going to start painting the kitchen, and then we will finish priming the living room. Our goal is to have the entire kitchen, living room, and hallway painted by the end of the weekend. Yay!!
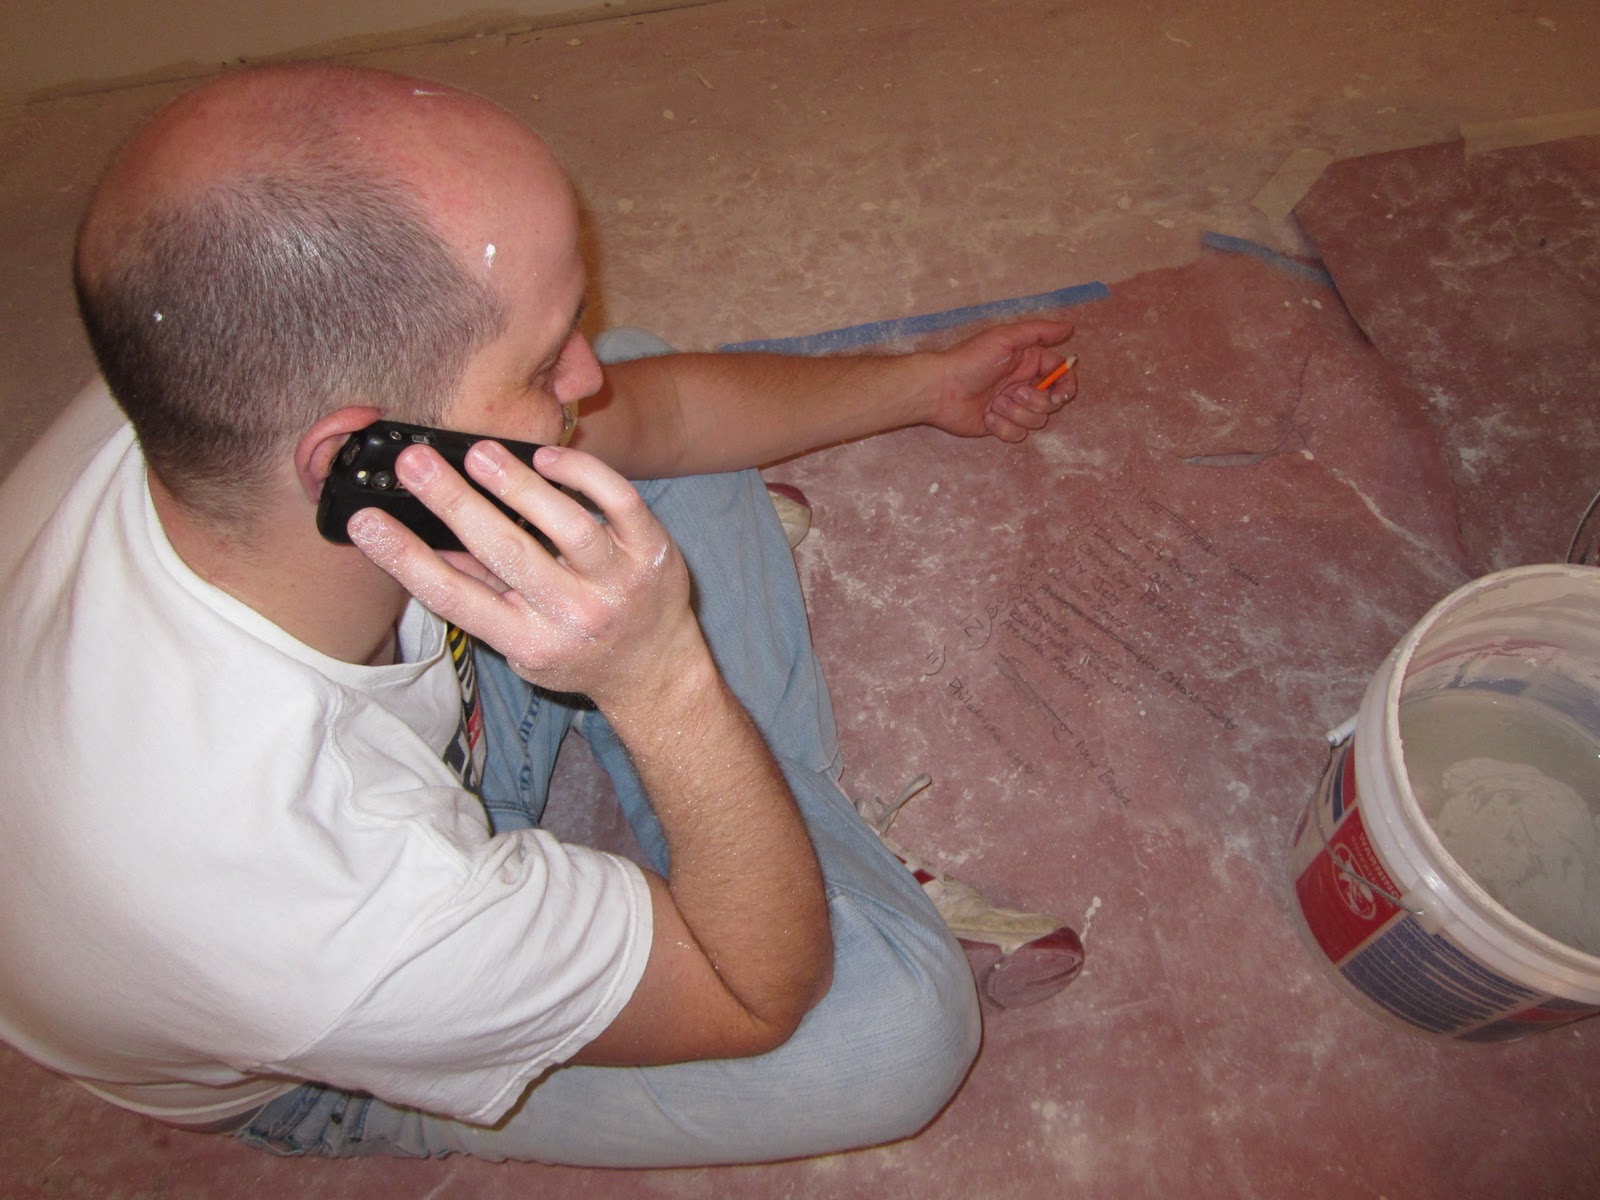
As we were wrapping up our evening of priming, Chad noticed he had missed a phone call from our friend Jenn. She was calling because her work is having a football playoffs pool, and she needed to know how the remaining 12 teams were going to finish in the playoffs. Who else would you call for help making your picks but Chad, right?? So he grabbed a carpenter's pencil and sat down on the floor to draw out his picks on the rosen paper. I was a little disappointed that he didn't put my Bears in the SuperBowl, but we will see. His pick is for the Patriots to take it all the way, so let's hope he did well and Jenn wins the playoff pool!! :)
Tomorrow night we will start painting color, so stay tuned for pictures! You will be able to see the lovely shades we have chosen for the kitchen for sure, and possibly even the living room depending on what time allows. It should be exciting!
Have a great weekend everyone!
To get caught up, I want to start out with the bathroom bump-out! The original space of the bathroom was very small. It consisted of a full size tub, small closet, vanity, and toilet. To sit down on the toilet and "go" put you in a bit of a bind. There was not much elbow or leg room by any means. With the height of the guys in our family, that was not going to do for us, so we weren't going to make someone else do with it either. We decided to make the bathroom bigger! We had plenty of room in the living room with which to work, and so we opted to add 16" more to the north wall of the bathroom by cutting back a little space in the living room. You don't even notice the missing space in the living room, but you sure notice the extra space in the bathroom. Take a look!
Where we started...the "old" bathroom...
Just me being silly...:)
The finished bump-out! You can see the extra room adds a lot of space to the room! We are also going to move the sink and vanity to the north wall instead of right next to the toilet, so that when you are sitting on the toilet, you have more elbow room. I do believe it will be very nice!
We also widened the bathroom door, as it was pretty narrow. If Chad stood in the doorway, both of his shoulders would touch each side of the doorway. We added 4" to the width of that, and it makes a big difference as well.
One of the tasks we had decided to go for was adding more insulation to the outside walls of the house. We also blew in 10" of extra insulation in the attic, but we wanted to make the cold north walls more sound and chill proof as well. After we built out the studs on those walls from 3" to 4", we added strips of insulation to the walls of the kitchen and living room. We can tell it makes a big difference keeping the house warm...and I am sure the extra insulation in the attic is helping greatly too!
Getting started on the insulation in the living room...
Once the insulation was in place, we could begin sheetrocking. Woohoo!! Our walls are beginning to take shape! Now we are getting to the point where we are doing some of the fun cosmetic things. Dad, Cory, and Chad did all the sheetrocking and what an amazing difference it makes in the house! Things are starting to feel "buttoned up"...although we are far from closing the door on a finished project. It is just really fun to see more progress!
After the sheetrock was installed, Dad could come along with his tape and mud and start tying everything together. What an artform it is to cover the seams and cracks and fill holes and dents, and to do it well! Dad does such a great job with this. We will often exclaim, "Hey! Remember when that hole was there?? You can't even tell anymore!" The whole mudding process is pretty time consuming. Dad has to tape and mud once and let that layer dry. Then he needs to come in again and mud over the same places and let that layer dry. Once that's all dry, and any other spots that might have needed more mud are taken care of and dried, he can begin sanding. Now that is a dusty job. He has a good system going where he can utilize a Shop Vac to suck up the dust as he is sanding. That helps take care of a lot of it, but it's still a dirty job! Then, he gets to texture. This is a neat process as well. The mud mixes with water and Dad sprays it on the walls, making a great looking pattern that gives the walls some character and distinction! We do the entire texture on the walls and ceilings so it all looks uniform. This is an orange peel texture...not the old popcorn stuff that everyone hates because it crumbles off. The texture on the walls makes for an incredibly humid house while it dries, but the effect is so worth it in the end.
Ready for texture!
Texturized!
Tonight, Chad and I began the fun process of painting! And yes, I mean fun. Sure it can be a lot of work, but it is so fun seeing a transformation with color. And I'll be honest...this is the easiest painting job I have ever had. There is no trim work whatsoever to go around, and that makes it super easy! We started priming tonight with our Zinsser 1-2-3 primer which is what we love the best. We do have some spots where we are going to have to prime with a shellac instead of the water-based primer, as there is some type of stain that is being very stubborn and still popping through. No biggie though - we will get it covered! We went through two gallons of primer and ran out. We got the entire kitchen (walls and ceiling) primed and half the walls of the living room. Tomororw night we are going to start painting the kitchen, and then we will finish priming the living room. Our goal is to have the entire kitchen, living room, and hallway painted by the end of the weekend. Yay!!
As we were wrapping up our evening of priming, Chad noticed he had missed a phone call from our friend Jenn. She was calling because her work is having a football playoffs pool, and she needed to know how the remaining 12 teams were going to finish in the playoffs. Who else would you call for help making your picks but Chad, right?? So he grabbed a carpenter's pencil and sat down on the floor to draw out his picks on the rosen paper. I was a little disappointed that he didn't put my Bears in the SuperBowl, but we will see. His pick is for the Patriots to take it all the way, so let's hope he did well and Jenn wins the playoff pool!! :)
Tomorrow night we will start painting color, so stay tuned for pictures! You will be able to see the lovely shades we have chosen for the kitchen for sure, and possibly even the living room depending on what time allows. It should be exciting!
Have a great weekend everyone!
Subscribe to:
Posts (Atom)