Thursday, February 24, 2011

Bathroom Paint

After Dad textured the bathroom, it was ready for primer and paint! Chad and I spent an evening priming, and then we needed to pick out a paint color. We went to Menards for a few supplies and stopped by their paint swatches to look around. We initially thought of a very light blue or yellow color, but the consensus was that we should pick a nice neutral color that would appeal to more homebuyers, which was good advice. We then decided to pick out a nice ivory: something neutral, something versatile, and something different from brown/taupe/beige that we will already have all over the main floor, aside from the kitchen. So off to the east side Walmart we go to have our paint color matched. For those of you who are wondering, yes, we buy our paint at Walmart and do not waste money on the crazy expensive stuff at Menards/Norbergs/Sherwin Williams, etc. We have never had bad luck with Walmart paint...the main thing is that you need a good primer - and then any paint will work! We use the Zinsser 123 primer. It's wonderful stuff!

So off to the east side Walmart we go... Unfortuately, they are now changing out the vendor who provides their paint, so their shelves were left with no bases for which to mix our paint. So, off to the west side Walmart we go, as they have already undergone their switch. However, their Color Match computer was down, so even though we were able to buy our paint base there, we couldn't color match our paint swatch. So, we bought the base on the west side and drove back to the east side with our can of paint and had them Color Match it and mix it there. Phew! After taking a break in there for supper, it ended up being a three hour ordeal. However, we now had our primer and paint and we were ready to begin!

Priming...


I started by doing the edging with the primer while Chad walked around the house and filled in nail holes on the baseboard and trim, and then when I was finished edging, Chad rolled on the primer. While he was rolling, I began painting the extension jams (window sills) on the now-framed windows. Even just a coat of white primer is already making them look even better!


I also retaped the backsplash on the kitchen countertop and did the touch up on the caulk so that it matched the wall color to the counter.


I also walked around and took some pictures around the house that I think we will come to appreciate later after this project is done...

Our worksite "office"...


The obligatory jobsite stereo... Between this and Cory's iPod, I don't know what we'd do without music!


The "Toilet in a Tub"...


What was the "food and beverage" room prior to getting the new fridge set up in the kitchen. Yes...that is my dorm fridge and microwave from college! The room has now become a catch-all for tools. I'm not exactly sure where all this is going to go once we need to work in these rooms...


I consider this our paint room, as all of our paint, primer, mud, fan, etc., is stored in here. Again...another room with plenty of things to move out before we start working inside it!


We found this little man drawn on the underlayment when it was being installed. None of us drew this little guy, so we're guessing someone at Menards was bored one day. I just thought he deserved to be immortalized on the blog before we buried him with flooring...hehe...


After the bathroom was primed and thoroughly dry, Chad and I came back and started painting! Chad did the ceiling, and when that was finished, it was my turn. I always love putting color on the walls, so this was exciting for me. I have the job of doing the edging in the corners and along the ceiling and around windows, so I get to put the first splash of paint on the walls. I had to take a picture of the start of my handywork!


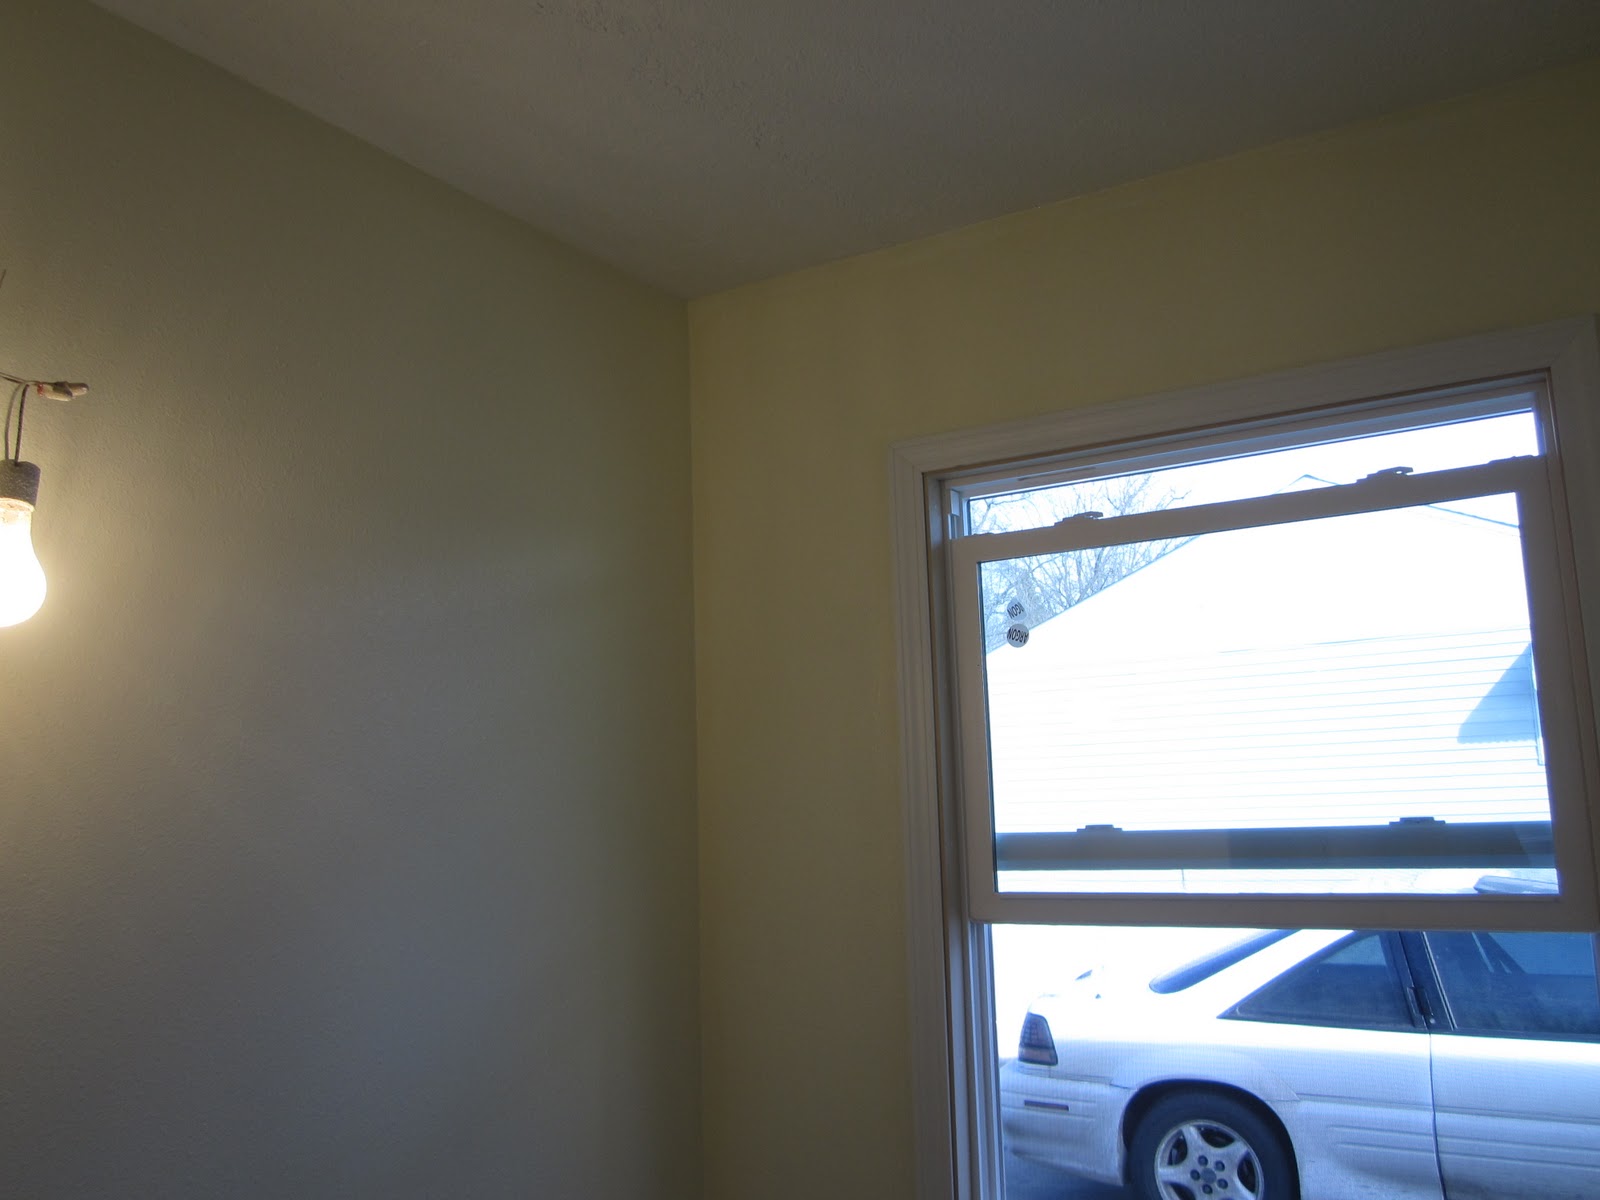
Once I got the edging completed, it was break time for me while Chad started rolling. I love watching this process anyway, so it was a good time for a break. It's always so fun to transform a room with color! One thing you will notice as you look at the pictures is that the color of the room changes dramatically from day time to night time. During the day, with the natural light filtering through the window, the color looks more like the ivory we intended. However, at night, the color definitely looks more like a light yellow. It is very pretty...we like it a lot and it matched the paint swatch exactly. We just never anticipated that when it was on the whole wall, it would take on a yellow appearance at times! So when we initially discussed blue or yellow, and decided to go neutral, I guess it wasn't meant to be that way! Hopefully others will like the color as well.


The day after we finished the paint, the flooring was installed. Tomorrow night I will post pictures of the floor and the new vanity and counter top in the bathroom! We also have new faucets for the vanity and the tub & shower that we will be installing. Let us know what you think about the bathroom color!

Wednesday, February 23, 2011

Recent Happenings

Now that the blog is back in action, I can go back to the last post and add updates that have happened since then, starting with the electrician.

Mike our electrician came over to the house and got all the outlets set up and installed the light in the kitchen. He also got the microwave hood all set up and running, and Chad installed the light in the hallway.


On a snowy Saturday, Dad and the boys went to work at the flip house and the girls decided to do some shopping and visiting at Grandma's. We did stop at the house to take some pictures. 


The guys had already unpackaged the new dishwasher and stove and got those set into place in the kitchen. It was nice to get those out of one of the bedrooms now that we will be starting in those rooms soon. Cory began prepping the bathroom floor for the underlayment, they set the sink in place, and Chad gave us a tour of the new appliances.


Once the bathroom floor had been prepped, Cory was ready to start laying down the underlayment. Just getting a nice clean cover on the floor made the bathroom look so much better!


Our Saturday's at the flip house often consist of friends and family stopping by to see the progress first hand. On this snowy Saturday, our cousin Nathan stopped by, so we all took a quick break for some sweet treats and coffee.


Once the appliances were installed and the bathroom was begun, it was time to get trim and baseboard painted. Chad and I went to the flip house on a Tuesday night and laid out 10 pieces of trim on sawhorses and painted away. We also accidentally grabbed 100% silicone instead of paintable caulk for the backsplash on the kitchen counter top, so we needed to try painting over that. I researched online how you might be able to paint over unpaintable silicone. Even after trying to coat the silicone in rubbing alcohol and covering with a special shellac to prime over it, I was unsuccessful. While I got the shellac to cover the silicone, Dad was able to scrape it right off. That means...time to dig out the silicone and go back to Menards to get the right stuff. In the meantime, I think I did a good job of trying! :)


After the trim was painted, Dad was able to come back to town and work his magic "outlining" the windows and rooms. He first cut and installed the extension jams and the windows, and then trimmed everything out. Trim really sets off the floors and the windows, and it looks spectacular! The windows looked so much bigger and just really looked "finished".


Dad also tacked the moulding up around the cabinets where they meet the ceiling, and he recaulked the counter top with the paintable caulk, which means I get to get out my little paint brush again and paint the wall color over the top of the caulk to meet the counter top.


Now that the underlayment was in the bathroom and Dad was all finished with mudding and taping in the bathroom, it was time to texturize! Dad sprayed the bathroom with texture...which means it's once again time for Chad and I to pick a paint color and paint the bathroom!


Next up, I will post pictures of the bathroom prime and paint job, as well as the new vanity and counter top. Chad and I also needed to prime and paint the extension jams, or as I call them...the window sills. Stay tuned for those updates tomorrow night!